Whether you’re spinning at a live gig or in your bedroom, recording your set can be useful in many ways. If you post it on a site like Mixcloud, you can potentially reach and grow an online, international fan base. You can also use the mix in a portfolio when you are talking to new clients. Recording a mix can be a good practice tool where you can review it to see how it sounds as a listener and determine what you do and don’t like about your set. Or you can just save it for your own listening pleasure.
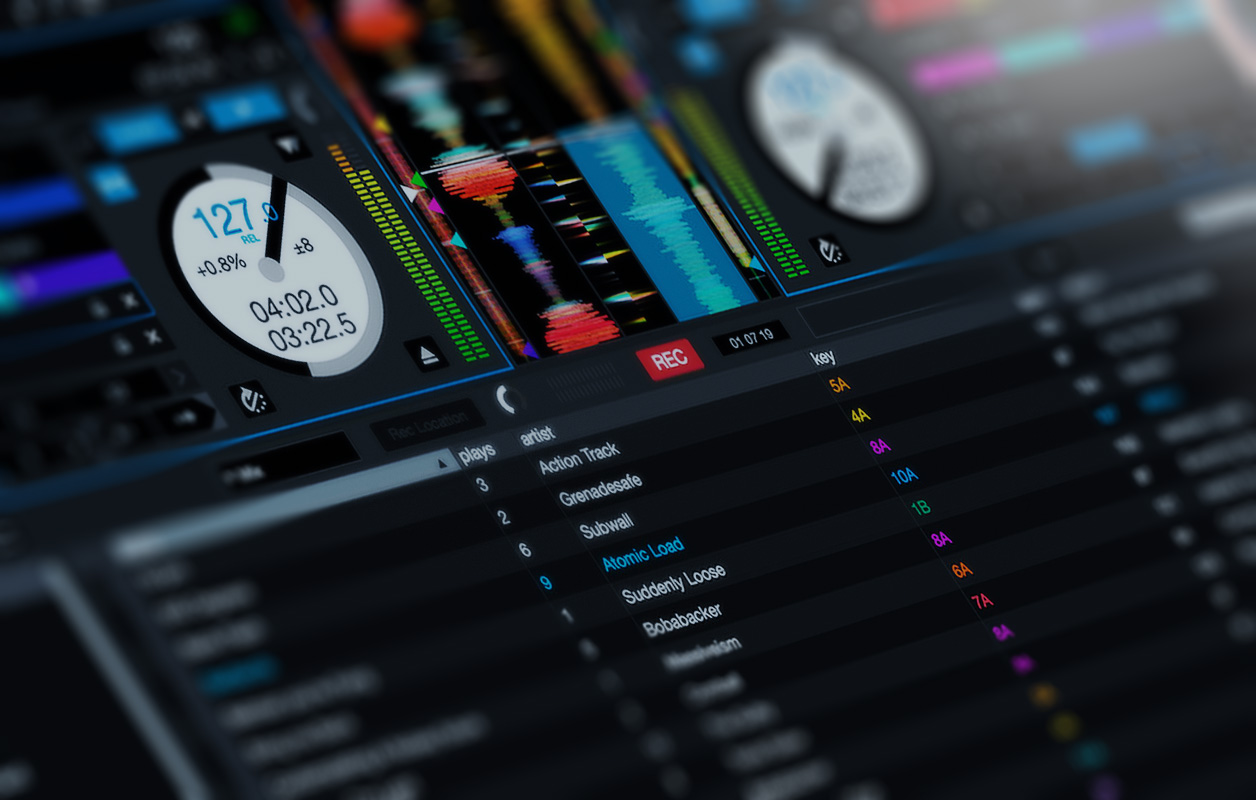
Most DJ software, such as Serato, VirtualDJ, Traktor, and rekordbox, feature options to record your mixes. In Serato, for example, you can click the “REC” tab at the top of the screen to access and alter the recording options in the software. (It’s important to plug your DJ equipment into your computer to access the recording features). When you’re recording your DJ set, there is a lot to consider besides just hitting the record button. Here are the do’s and don’ts of recording your DJ set.

DO:
– Check the file location to make sure the recordings are being saved where you want them to be. They will be much easier to access in the future.
– Check the recording volume before recording your set. There is a specific volume knob that applies only to recorded sets. This is different from your master volume knob. In most cases, your master volume won’t affect the recording volume. It is far too easy to leave the recording volume too low and do an amazing mix that sounds great to your ears, only to find out that you can’t post or use a proper recording because you can hardly hear the music.
– Make sure that your software is recording the entire mix, rather than an individual channel. DJ software offers the option to record the whole mix or just an individual channel. You want to make sure your software is not defaulting to just one channel.
– Test out your parameters with a quick recording before recording the full set. This way, you can make sure the mix is loud enough but not distorting, the software is recording all channels, and there are no unwanted effects or tempo changes.
– Decide on an approximate length of mix and selection of songs, depending on the purpose of your mix. Doing so is not necessary, of course. However, it will help ensure that your recorded mix serves its purpose, whether it’s posting a weekly mix show of a certain length or creating a Top 40 mix to send to potential clients.
– Consider recording a full mix at a party or event, and then taking the best parts and using it for your Mixcloud or portfolio. If you happen to make magic at a party, why not use it for other purposes as well? You can always edit your starting and stopping points in a digital audio workstation such as Ableton, Logic Pro, or Pro Tools, so you only capture the best parts of the mix.
DON’T:
– Put the individual channel volumes, the trim, or the recording volume so high that the sound distorts. Alternatively, don’t put these so low that you can hardly hear the mix. A healthy mix should be landing primarily in the yellow and green on the recording volume monitor. An occasional spike into the red is not a problem, but if the entire mix lives in red, it won’t sound good during playback. When listening back to your mix with focused attention, you may notice distortion that you hadn’t noticed when you were busy DJing at a loud party, so it’s important to do a test mix and monitor the meter before and while recording the full set.
– Record the same mix over and over for hours until you get it perfect. This can be tedious and time consuming. That’s not to say you shouldn’t plan or practice the mix, but it might be difficult to get it exactly perfect in every spot. Maybe you faded out a little too quickly when transitioning to the next song or missed your planned cue and had to introduce the next song a little later. Maybe the timing of your scratching wasn’t perfect. If the mix was otherwise great, don’t stress yourself out by doing it all again. It’s possible to edit your mix files in your DAW to fix these issues. When you are recording at home, you can stop the mix, then begin a new mix with the song where you made an error. You can then splice the two recorded files together in a DAW and the mix will sound seamless. If you use this technique too often, it may take away the spontaneity of your mix or misrepresent your DJ abilities to potential employers. But doing it once or twice in the mix to save yourself the effort of re-recording the entire mix is not a problem.

– Play songs at vastly different volumes from each other. You’ll see this if you open your mix in a DAW or DJ software program and the waveforms of each song have many different widths. Varying your volume too much may make your mix sound choppy or cause a drop in energy. Your ear is the most important tool to monitor volume, but also check your visual volume meter, as well as the visual waveform display of the track itself. Louder tracks have wider waveforms than softer tracks do. Some tracks, especially older or underground tracks, may have a lower overall volume. These tracks might need to be played at a higher trim or channel volume to match the volume of the newer tracks.
– Forget to have fun. Recording your set may be stressful because it forces you to be critical of your mixing or be perfect at every moment. But the worst that can happen is you make a few mistakes, and you don’t post the mix or use it in your portfolio. If this happens, you can simply evaluate where you are making errors, and then record a new mix.
When you do it the right way, recording your DJ set can be helpful. Who knows what it will lead to? Maybe when you listen to the playback, you’ll hear an amazing idea for a mashup, or an interesting effect or scratching pattern that you can then add to your regular toolbox!

