One of the most important skills for music producers and musicians alike is the art of beatmaking. After all, the drum groove often serves as the foundation of an entire song. Below, we dive into what you need to start making beats, and guide you through creating your first groove in your DAW. Fortunately, creating your first beat only requires an audio workstation, some samples, and a little bit of your time. Here’s what you can do to start making memorable beats.

1. Gather Your Tools
In order to make your first beat, you should decide whether to go with hardware or software via a computer or mobile device. Your beat making hardware or software serve as the foundation for producing, so you’ll want to make sure you invest in these tools before buying any additional equipment.
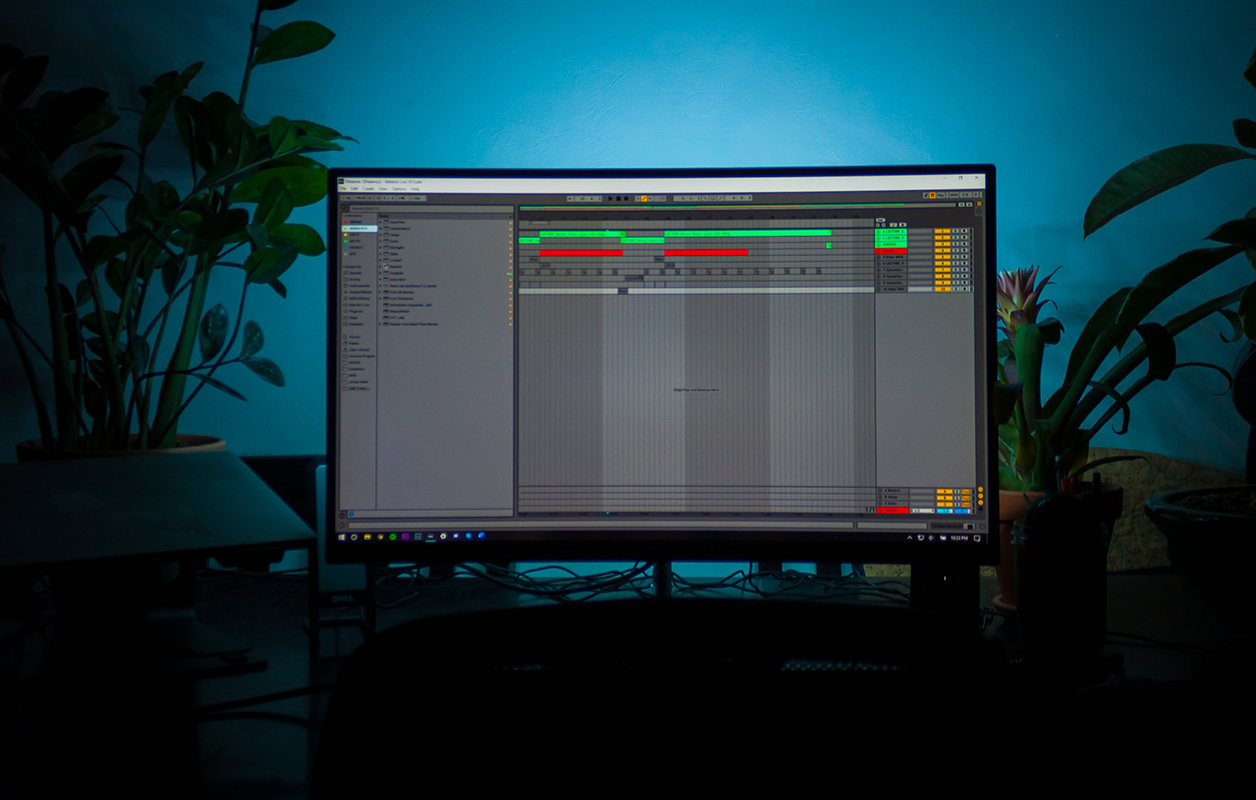
This could mean a traditional desktop DAW like Pro Tools, Ableton Live, Logic or FL studio. You can also make music through smartphone applications like Garageband, FL studio mobile, or Cubasis. It’s a good idea to pick one platform and stick with it especially while starting out, since each workstation has its own workflow. The good news is that once you have one of these platforms, you have everything you need to make you first beat!
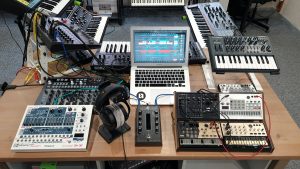
Another option is to use a stand-alone hardware piece like the Roland SP-404, an AKAI MPC, a Maschine MK3, or any other beat making interface. These are great tools for anyone who isn’t quite ready to dive into a DAW or simply prefers making music on hardware instead of software.
It’s important to note that if you do use a hardware piece, you might still need some software and a basic audio interface to convert your music into a digital format for distribution. Thankfully, many DAWs (take Ableton Live Lite for example) offer a free version of their software with a limited amount of tracks so you could easily do your basic audio transfer without committing to the cost of a full DAW suite.
As you grow as a beatmaker and producer, it’s a good idea to invest in other tools such as a MIDI controller, audio interface, and basic recording equipment to elevate your tracks. However, if you’re just starting out, don’t worry about purchasing additional equipment until you have to– If you have software or production hardware, you’re ready to start making beats.
2. Pick Out The Elements Of Your Beat
A beat consists of multiple drum parts playing simultaneously, creating a certain groove for a track. Before making your beat, you’ll want to seek out some samples that can make up the basis of your beat. Fortunately, all DAWs come with a stock set of samples you can use to get started. If you’re looking for a more particular sound, using an online sample library can be a great way to quickly find sounds that fit your sonic vision.
While sorting through samples on your DAW, try to keep in mind what specific drum parts you’re looking for. If you don’t know where to start, go ahead and grab a kick, snare, and hi-hat sample. These basic elements can help you create the basis of your beat, and you’re free to swap out your samples later if they end up not working out.
In this video, you’ll hear the kick, snare, and hi-hat I selected for this example. I dragged them onto my timeline in Ableton live, but you can also create beats within your DAW’s sequencer.
3. Arrange Your Drums
Once you’ve picked out the samples for your beat, it’s time to start arranging. Beats can be arranged in a myriad of ways, but for the purposes of this example, we’ll share the most common ways each element is expressed in popular music.
Kick
The kick is the driving force behind your song, and typically. emphasizes the strongest beats in a piece of music. In common time (or a 4/4 time signature), this is on beats 1 and 3 or beats 1, 2, 3, and 4 (Don’t worry, we’ll break this down below!). Your DAW is automatically set to this time signature, though you can easily change it if you want to experiment with a different set up.
In the context of your DAW, each section is broken down into “bars” which can also be described as measures. These bars can be subdivided into 4 equal pieces, which are each referred to as a beat.

The red section outlines a full bar or measure, while the blue section outlines one beat. Note that there are equally sized 4 beats within 1 bar. Most DAWs have lines built into the grid or timeline view to help producers visualize beats easier.
For the example below, I’ve placed a kick at the beginning of beats 1, 2, 3, 4:
Note how when you turn on your DAW’s metronome or click track, it aligns with beats 1, 2, 3, 4 and subsequently my kick.
Snare or Clap
A snare or clap sound usually lands on beats 2 and 4 in pop music. I’ll add in the snare on top of kick on a separate track. You’ll see that two of the kick sounds align with the snare:
Hi-Hat or Shaker
The final layer of my simple beat is the hi-hat or shaker. I’m going to add this sample onto every 1/8th note, or twice within a single beat. To do this, select the 1/8th grid in your DAW and place like so:
4. Experiment With Layering
Now that you have your simple beat going, you have the foundations of a song! Experiment with adding a bassline:
Some chords:
And anything else you can think of to finish out your track! Remember, there’s no one right way to make a beat, so feel free to experiment with different arrangements and samples. As you can hear, it doesn’t take many other musical elements to help a song feel whole once you have the beat down.
5. Practice Makes Perfect
At the end of the day, the best way to become a skilled beatmaker is to, well, make beats! If you make beat creation a habit, you’re bound to become a better producer over time. One great practice is to listen to one of your favorite songs and try to recreate a similar groove in your DAW. Even if you don’t end up creating a beat exactly like the recording, it’s an excellent way to get creative and train your ear. Have fun creating your own beats!

